How to install codeigniter by following some steps are explained below:
1. Download the zip file from this Url https://github.com/bcit-ci/CodeIgniter/archive/3.1.9.zip.
2. Unzip the files and put them to your webserver 'htdocs folder' where you want to. lets assume that you put it at codeigniter folder of your web server.
3. Open the application/config/config.php file with a text editor and set your base URL. lets asumme that your base URL is set like this:
$config[‘base_url’] = “http://localhost/codeigniter/projectName";
4. If you intend to use a database, open the application/config/database.php file with a text editor and set your database settings. Set the following variables according to your setup.
$db[‘default’][‘hostname’] = “localhost”;
$db[‘default’][‘username’] = “admin”;
$db[‘default’][‘password’] = “*****”;
$db[‘default’][‘database’] = “projectone”;
$db[‘default’][‘dbdriver’] = “mysql”;
$db[‘default’][‘dbprefix’] = “”;
$db[‘default’][‘active_r’] = TRUE;
$db[‘default’][‘pconnect’] = TRUE;
$db[‘default’][‘db_debug’] = TRUE;
$db[‘default’][‘cache_on’] = FALSE;
$db[‘default’][‘cachedir’] = “”;
5. Now you can run installed codeigniter software by following below urls
Kindly note in below url codeigniter is your project folder name. so, when you are going to run than check once that if your project folder name is codeigniter than you can follo below link else you can change your url as per your project folder name.
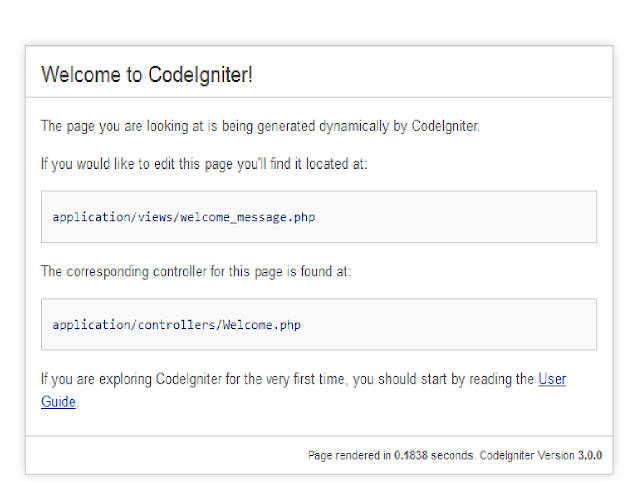
After run of your project in browser you will see this output
“Welcome to Code Igniter!”

Now you are ready to work with Code Igniter.
